 LOADING...
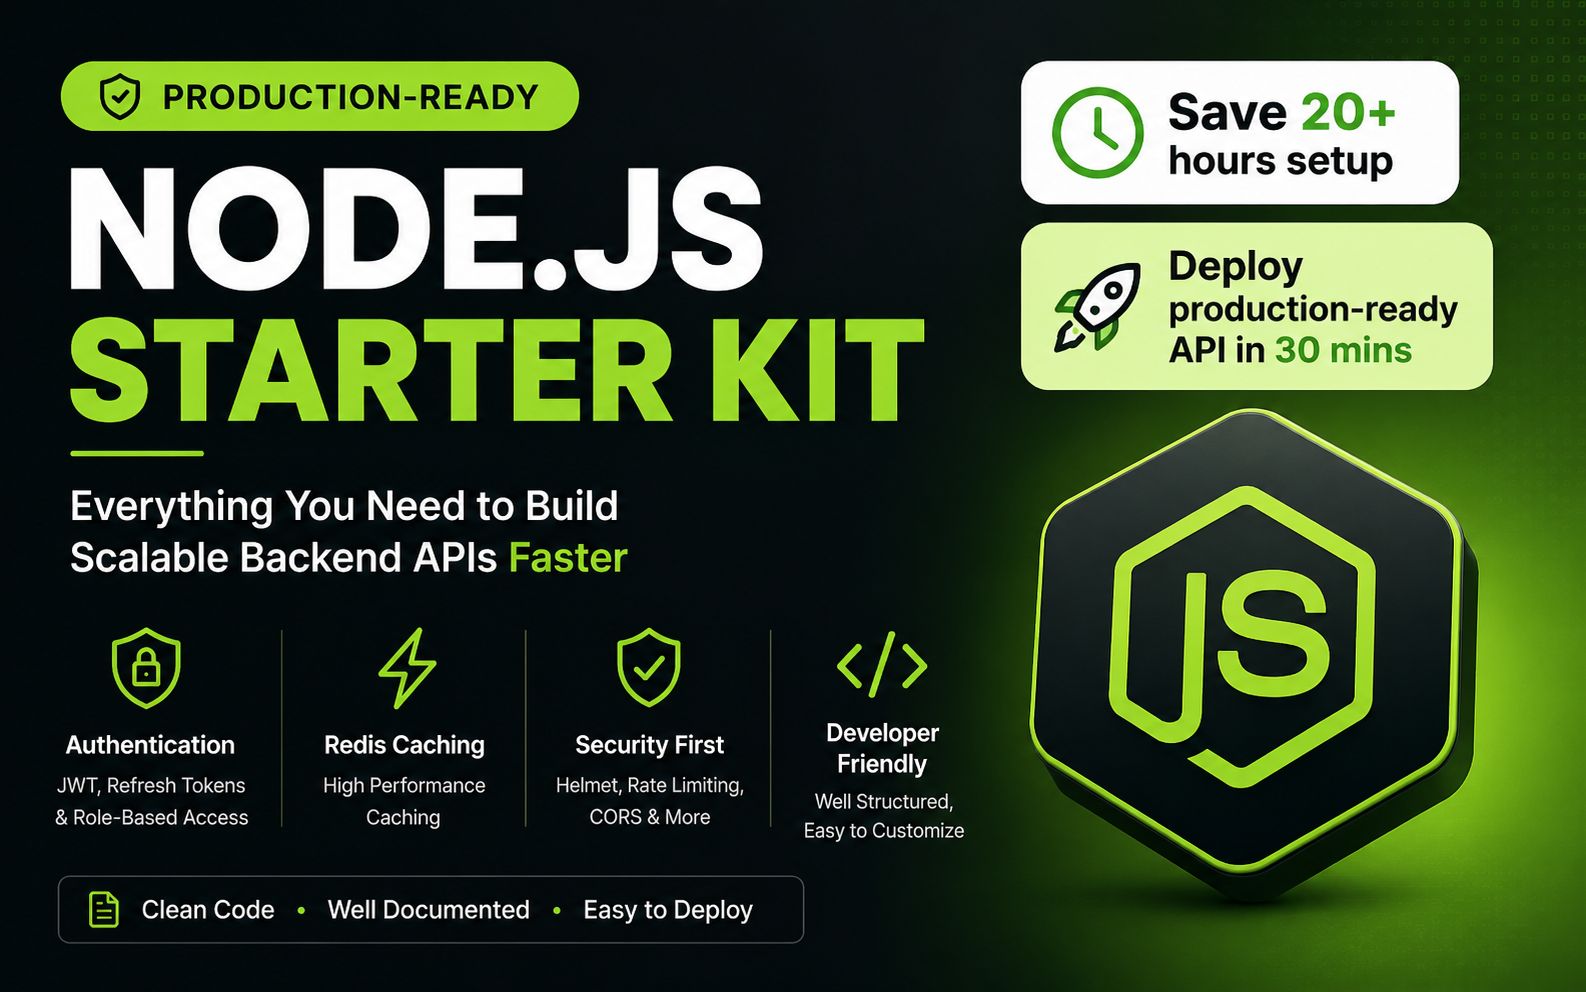
Authentication is one of the first real challenges you’ll face when building an app with NestJS. At first, it can feel overwhelming — JWTs, guards, strategies, services — where do you even start?
I’ve gone through this myself, and after trial and error, I’ve found a simple structure that works well in real-world projects. In this guide, I’ll walk you step by step through building a clean and secure authentication system in NestJS.
Project Structure: Why Organization Matters
NestJS is opinionated, and trust me — if you don’t set up your folders right, it gets messy fast. I like to start with something like this:
src/
  /auth
    /dto
      login.dto.ts
      register.dto.ts
    /guards
      jwt-auth.guard.ts
    /strategies
      jwt.strategy.ts
    auth.controller.ts
    auth.module.ts
    auth.service.ts
  /users
    /entities
      user.entity.ts
    users.module.ts
    users.service.ts
  app.module.ts
Each folder has a clear job:
dto/ → validate login & registration requests.
guards/ → protect routes (only logged-in users allowed).
strategies/ → handle JWT token validation.
entities/ → database models.
Setting this up early saves so much pain later.
User Entity: The Foundation
You can’t have authentication without a user model. Here’s a simple version with TypeORM:
// users/entities/user.entity.ts
import { Entity, Column, PrimaryGeneratedColumn } from 'typeorm';

@Entity('users')
export class User {
  @PrimaryGeneratedColumn()
  id: number;

  @Column({ unique: true })
  email: string;

  @Column()
  password: string;

  @Column({ default: true })
  isActive: boolean;
}
I like keeping an isActive field. It lets you disable accounts without deleting them — super useful for moderation.
Authentication Service: The Core Logic
The AuthService is where you handle login, registration, and JWT creation.
// auth/auth.service.ts
import { Injectable } from '@nestjs/common';
import { JwtService } from '@nestjs/jwt';
import { UsersService } from '../users/users.service';
import * as bcrypt from 'bcrypt';

@Injectable()
export class AuthService {
  constructor(
    private usersService: UsersService,
    private jwtService: JwtService,
  ) {}

  async register(email: string, password: string) {
    const hashedPassword = await bcrypt.hash(password, 12);
    return this.usersService.create({ email, password: hashedPassword });
  }

  async login(email: string, password: string) {
    const user = await this.usersService.findByEmail(email);

    if (!user || !(await bcrypt.compare(password, user.password))) {
      throw new Error('Invalid credentials');
    }

    const token = this.jwtService.sign({
      sub: user.id,
      email: user.email,
    });

    return { access_token: token };
  }
}
Key takeaways:
Never store plain passwords (bcrypt is your friend).
JWTs carry user info (I usually add id and email).
Always validate passwords with bcrypt.compare().
JWT Strategy: Validating Tokens
This piece checks if a request’s JWT is valid:
// auth/strategies/jwt.strategy.ts
import { Injectable } from '@nestjs/common';
import { PassportStrategy } from '@nestjs/passport';
import { ExtractJwt, Strategy } from 'passport-jwt';

@Injectable()
export class JwtStrategy extends PassportStrategy(Strategy) {
  constructor() {
    super({
      jwtFromRequest: ExtractJwt.fromAuthHeaderAsBearerToken(),
      secretOrKey: process.env.JWT_SECRET,
    });
  }

  async validate(payload: any) {
    return {
      id: payload.sub,
      email: payload.email,
    };
  }
}
This runs automatically whenever someone hits a protected route with a token. If the token’s valid, you get the user’s info back.
Auth Controller: Endpoints
Now let’s expose /auth/register and /auth/login:
// auth/auth.controller.ts
import { Controller, Post, Body } from '@nestjs/common';
import { AuthService } from './auth.service';

@Controller('auth')
export class AuthController {
  constructor(private authService: AuthService) {}

  @Post('register')
  register(@Body() body: { email: string; password: string }) {
    return this.authService.register(body.email, body.password);
  }

  @Post('login')
  login(@Body() body: { email: string; password: string }) {
    return this.authService.login(body.email, body.password);
  }
}
Simple, but now you have working APIs to register and log in users.
Guarding Routes with JWT
If you want to protect routes (say, a /profile endpoint), add a JWT guard:
// auth/guards/jwt-auth.guard.ts
import { Injectable } from '@nestjs/common';
import { AuthGuard } from '@nestjs/passport';

@Injectable()
export class JwtAuthGuard extends AuthGuard('jwt') {}
Use it like this:
@Controller('profile')
export class ProfileController {
  @UseGuards(JwtAuthGuard)
  @Get()
  getProfile() {
    return { message: 'This route is protected' };
  }
}
Now only logged-in users can access /profile.
Environment Setup
Don’t hardcode secrets — keep them in .env:
JWT_SECRET=your-secret-key-here
DB_HOST=localhost
DB_PORT=5432
DB_USERNAME=postgres
DB_PASSWORD=password
DB_NAME=your-app
Generate a strong secret with:
node -e "console.log(require('crypto').randomBytes(32).toString('hex'))"Common Mistakes to Avoid
Here are mistakes I’ve made (so you don’t have to):
Weak JWT secrets → always use long, random strings.
Storing plain text passwords → hash everything.
Skipping DTO validation → you’ll regret it later.
Forgetting env variables → don’t hardcode secrets.
Not handling errors well → return meaningful messages.
What’s Next?
Once you’ve got the basics running, you can add:
Refresh tokens (for longer sessions).
Password reset flow.
Email verification for new users.
Role-based access (admin, user, etc.).
Rate limiting on login attempts.
Summary
Authentication in NestJS isn’t as scary once you break it down. By organizing your project properly and using JWTs with guards and strategies, you get a production-ready system that’s secure and easy to extend.
When I first built this, I thought it was too much setup — but now I realize NestJS makes it easier to scale and maintain in the long run.